Can You Do Pottery With Long Nails?
By Linda · · 7 min read
Yes, you can do pottery with long nails, but wheel throwing will be harder and you’ll need to change how you use your hands. Long nails gouge lines into the clay every time a fingertip touches the wall of a pot. Potters who keep their nails learn to work with the pads and knuckles of their fingers, lean on ribs and other tools, and choose techniques (like handbuilding) that are more forgiving.
If your nails are natural and you’re willing to trim them, the simplest answer is to keep them at or just below the fingertip for throwing days. If they’re acrylics or gels you don’t want to give up, you can still make pottery. You just need the workarounds in this post.
Why long nails are a problem at the wheel
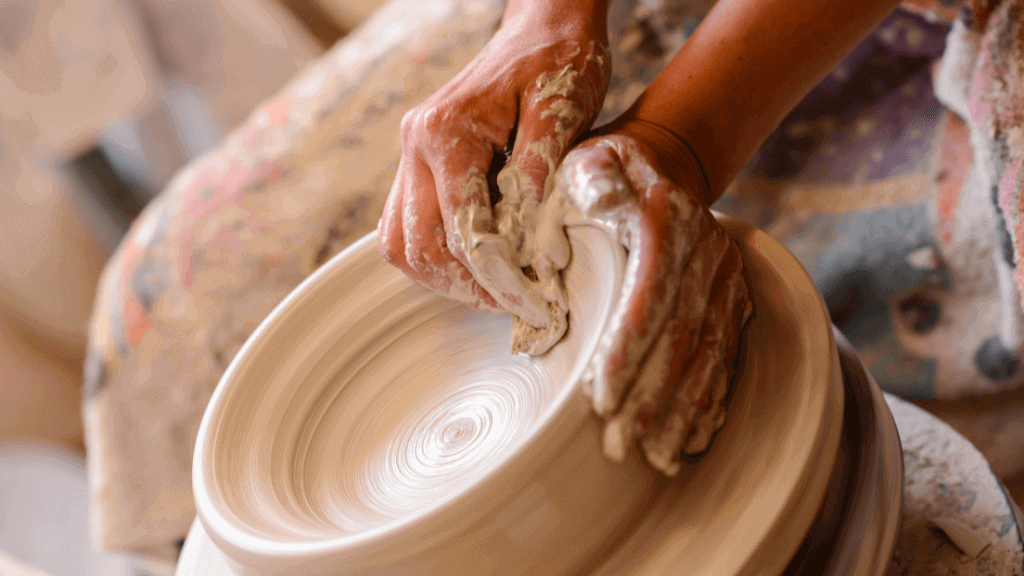
When you throw on the wheel, the clay spins past your fingertips hundreds of times a minute. Any nail that extends past the pad of your finger acts like a trimming tool: it carves a spiral groove into the wall of the pot, thins it unevenly, and can tear through a wall that’s already stretched thin.
The three spots where nails cause the most trouble:
- Centering. Your dominant hand presses into the side of the spinning clay. A long nail on that hand digs a ring into the clay instead of letting your palm and fingers apply smooth pressure.
- Opening. This is the worst one. Opening means pushing your fingertips straight down into the center of the mound, which is exactly the motion that bends a nail backward. This is where potters with long nails break or lift a nail.
- Pulling walls. Your inside fingertips ride up the interior wall. A nail here leaves a groove, and on a tall, thin cylinder it can slice clean through.
Beyond the damage to the pot, there’s the damage to your nails. Wet clay is mildly abrasive, and it packs hard under the free edge of a nail. Hours at the wheel will wear down polish, lift gel edges, and dry out your cuticles. Clay pulls moisture out of skin, which is the same reason pottery can make your hands rough.
How to throw on the wheel with long nails
Plenty of people throw with long nails, including potters with acrylics they keep year-round. Here’s what works.
Use your knuckles and finger pads, not your fingertips. Center with the heel of your hand and the side of your fist. When you pull walls, curl your fingers slightly so the pad contacts the clay instead of the tip. It feels awkward for the first few sessions, then becomes automatic.
Open with a sponge or a tool. Instead of plunging bare fingertips into the mound, press a small damp sponge into the center and let it do the opening, or use the rounded end of a wooden tool. Many potters open with a sponge regardless of nail length because it keeps the bottom compressed and smooth.
Throw with ribs. A flexible rubber rib on the outside wall replaces your outside fingers entirely. A wooden or metal rib smooths and shapes the inside. Ribs give you cleaner walls than fingers do anyway, so this “workaround” is really just good technique. A basic set of throwing tools (ribs, a sponge on a stick, a wooden knife) costs around $10 to $25 and covers everything your fingertips would normally do.
Keep a sponge in your throwing hand. Holding a sponge between your fingers and the clay cushions the contact point and keeps your nails off the surface. It also keeps the clay lubricated so you’re not pressing as hard.
Slow the wheel down. A slower wheel speed gives you more control and makes an accidental nail-graze a small scuff instead of a deep spiral groove.
Handbuilding: the long-nail-friendly option
If you’d rather not fight the wheel at all, handbuilding is the easier path. You can make pottery without a wheel using three classic techniques, and two of them barely involve your fingertips:
- Slab building is the best match for long nails. You roll clay flat with a rolling pin, cut shapes with a knife or needle tool, and join the pieces. Your nails almost never touch the working surface.
- Coil building is nearly as good. You roll ropes of clay with your palms and stack them, then blend the coils together with a wooden tool or rib instead of your thumbnail.
- Pinch pots are the one handbuilding technique that’s genuinely hard with long nails, because pinching presses your thumbnail directly into the interior wall. If you love pinch pots, pinch with the flat pad of your thumb and rotate the pot constantly so no single spot gets gouged.
| Technique | With long nails | Why |
|---|---|---|
| Slab building | Easy | Tools do the shaping, not fingertips |
| Coil building | Easy | Palms roll the coils; blend with a rib |
| Sculpting with tools | Easy | Modeling tools replace fingers entirely |
| Wheel throwing | Hard but doable | Requires knuckle/pad technique and ribs |
| Pinch pots | Hardest | Thumbnail presses straight into the clay |
Handbuilding is also the cheapest way to start (a bag of clay and a few wooden tools), which is why I usually point nail-conscious beginners toward starting pottery at home with slabs and coils before they ever sit at a wheel.
What about gloves?
Thin nitrile gloves protect your nails and manicure, and yes, you can do pottery with gloves. But there are trade-offs. Gloves dull the feedback from the clay, which matters most when you’re learning to feel wall thickness on the wheel. They also tend to grab and drag on the clay surface unless you keep everything very wet.
My advice: gloves are great for wedging, glazing, and handbuilding, and workable on the wheel once you have some experience. If you’re brand new to throwing, try a few sessions bare-handed (nails managed with the techniques above) so you learn what the clay should feel like first.
Protecting your nails and manicure in the studio
If you’re keeping the nails, a little prep saves a lot of regret:
- Scrape a bar of soap before you start, so soft soap packs under your nails instead of clay. It washes out cleanly afterward.
- Apply cuticle oil or a thick hand balm before and after working. Clay dehydrates skin and nails fast.
- Clean under your nails with a wooden manicure stick, not a metal tool. Dried clay plus metal scraping is how nails get scratched and gels get lifted.
- Expect gel and acrylic edges to lift sooner than usual if you throw regularly. The constant water exposure softens the adhesive bond, the same way long dishwashing sessions do.
- Schedule fills after studio days, not before. There’s no point putting a fresh set into a bag of wet clay.
One thing I’ll say plainly: if you’re taking a wheel class, trimming your nails for the duration of the course is the single biggest favor you can do yourself. Learning to center and open is hard enough without fighting your own fingertips. You can grow them back the week the class ends.
Tools that replace your fingertips
You don’t need much, and none of it is expensive:
- Rubber ribs ($2 to $5 each) shape and smooth walls without finger contact.
- Wooden modeling tools ($8 to $15 a set) blend coils, carve detail, and smooth seams.
- Sponge on a stick ($3 to $6) soaks up water from inside tall forms without reaching in.
- Needle tool ($3 to $8) trims rims and scores joints, jobs people otherwise do with a thumbnail.
- Metal kidney/scraper ($4 to $10) refines surfaces at the leather-hard stage.
Everything else about the process is unchanged: your pieces still need to dry slowly and evenly before a bisque firing around cone 04 (1,945°F / 1,063°C), and your nails have no effect on glazing or firing.
FAQ
Can you do pottery with long nails?
Yes. Handbuilding (slabs, coils, sculpting with tools) works fine with long nails. Wheel throwing is harder because nails gouge the spinning clay, but you can throw successfully using finger pads, knuckles, a sponge for opening, and ribs for shaping the walls.
Can you throw on the pottery wheel with acrylic nails?
You can, and many potters do. Use the pads of your fingers, open the clay with a sponge instead of your fingertips, and shape walls with a rib. Expect the water and abrasion to lift acrylic edges faster than normal, so plan fills after studio sessions.
Will pottery ruin my manicure?
Regular clay work is rough on polish and gels. Water exposure, abrasion, and clay packed under the free edge all take a toll. Scraping soap under your nails first, wearing nitrile gloves for glazing and wedging, and oiling your cuticles afterward limits the damage.
Do I have to cut my nails for a pottery class?
Studios generally don’t require it, but for a wheel-throwing class I strongly recommend trimming to fingertip length. Centering and opening are the hardest skills for beginners, and long nails make both noticeably harder. For a handbuilding class, leave your nails alone.
What pottery technique is easiest with long nails?
Slab building. You roll, cut, and join flat pieces of clay using a rolling pin and simple tools, so your fingertips (and nails) rarely touch the working surface. Coil building is a close second.